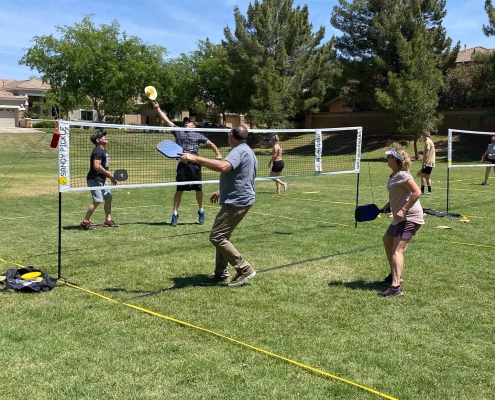
Are You Considering Putting In A Backyard Pickleball Court?
Before spending $20,000+ on building a pickleball court in your yard, there are a few things you might want to consider.
Click The Button Below for an updated article with complete details on what you should consider if you are planning to build a backyard pickleball court.
As An Alternative, Consider A Portable Backyard Pickleball Court From Sandy Pickle. Setup Instructions Are Below In 3 Parts:
Unboxing & Pre-Setup Prep (3 Minutes)
Net Setup (4 1/2 Minutes)
Boundary Marker Placement (3 Minutes)
When You’re Done Playing…
The take-down tips found in this video will help make future setup a breeze!
Rather Read Than Watch Videos?
1. Do This First!
After unpacking your game set and before heading out to play, find the 2 “guy lines” and 4 ground stakes which are used to keep tension on the net from each end of the frame. Preparing these for use, as well as becoming familiar with how the guy line tensioners work is a critical part of successful game setup!
1.
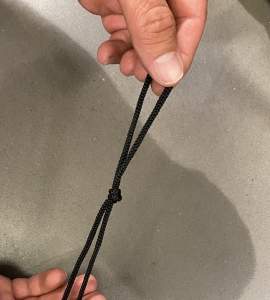 Separate the two guy lines, find the center point and make a loop in each of them
2.
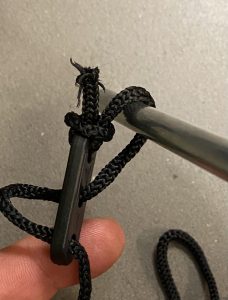
Place each of the stakes through the guy line between the bottom two holes in the tensioner.
3.
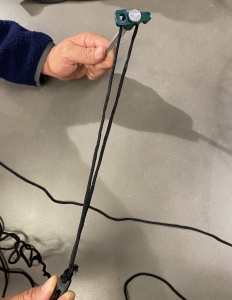
Familiarize yourself with how the slide tensioners work by holding the stake in one hand and the edges of the tensioner in the other and pulling away. The rope should slide through the tensioner holes, creating a larger loop around the stake.
4.
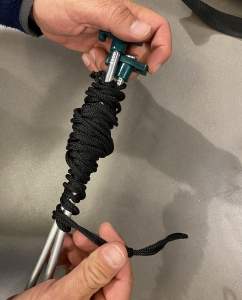
With the slide tensioners once again slid tight on each stake, hold the two stakes together in one hand, and wind with your other hand for an effective way of keeping the lines tangle free in the carry bag.
2. Setting Up Your Net
1.
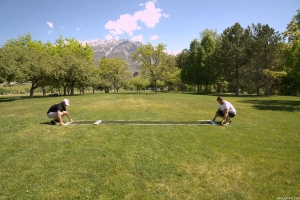 Lay your net across your chosen playing area (if possible, avoid having either side of the court facing the sun).
2.
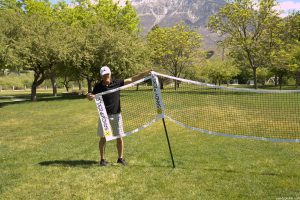
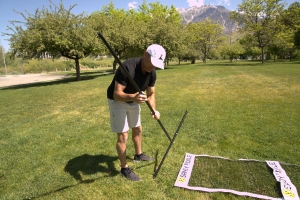 Connect the 4 numbered pole segments on each end of the net, with 1 being the base 4 being the top segment.
3.
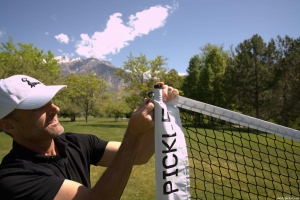 Slide the end posts through the net sleeve with the anchor hook through the small slit at the top.
4.
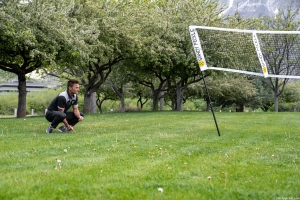 Attach the center loop of your guy lines to the anchor hook and extend the two ends to form a “V”. Slide the line tensioner away from each stake to allow for easier adjustments and push them into the ground.
5.
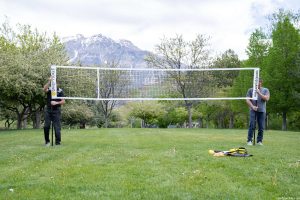 Adjust the poles to the approximate height of the tallest player and using the slide tensioners on each side, tighten the net while ensuring that both ends of the frame are vertical and square to the ground.
3. Placing Your Boundary Markers
1.
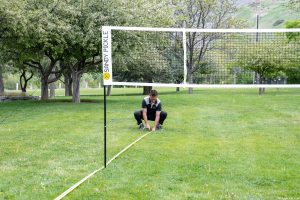 Find the center hole in the two yellow sideline markers (the no-spike zone holes are each 5′ from the center hole) and using a boundary stake secure it to the ground on the outside edge of the net frame.
2.
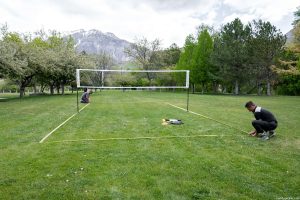 Continue placing your boundaries with the stakes sharing grommet holes on the shorter yellow end lines and the black no-spike zone lines. After first “eyeballing” square lines, adjustments can be made to achieve a near perfect rectangle.
3.
 The “extra” grommet holes in the boundary markers are used for singles play. If you intend to switch between doubles and singles, be sure to align these holes with the singles sleeve.
*
 The yellow cones are included to allow for quicker setup using “imaginary” lines. Using the sideline boundary marker for measurements, place cones at each corner as well as marking the no-spike zone. Connecting the cones with a line drawn in the sand is often used for beach play.

